One of the first things a beginner gardener learns as they are sowing multiple seed trays, watering, tending to the babies is WHERE to put things. Sometimes gardeners can be a little on the “creative” side of the brain so not much thought is worked on to where and how to organize all this stuff. Its really a process and the longer you are in it, the more you learn the process and steps you can make to streamline that process. Tables are a great way creating more surface space for you to do your work.
I know, not everyone has a ton of space to get started and once you do get started…space runs out and you need more very quickly. This is why its great to learn from others who have been doing it a while and learn from them. I did with my photography 28 years ago and WISHED I could have done the same with the garden. With the garden, I had nobody to learn from…no grandparents or great grand parents who had a farm or even a backyard garden so it was me and YouTube. YTube is not the best way to learn something new, but that is a different story. Back to TABLES.
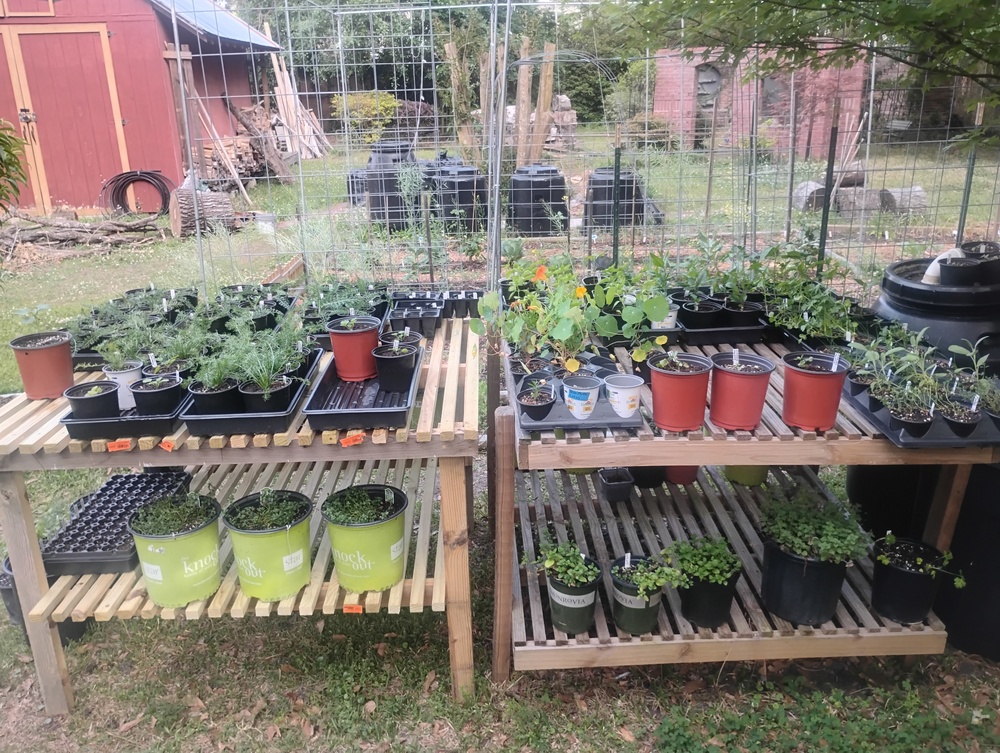
As I started the process of learning to be a gardener, I built my first outdoor table from treated lumber (5/4 decking board) for the frame, ripping them in half then ripping again to make the strips for the top. My first table was about 4×4, which seems to be a good size (so it can be moved into the sun or shade as needed). These tables are often called “starter tables” since we end up using them for sitting toddler plants on to introduce them to the actual sun in stages so they dont get too intense too soon. A process called “hardening off.”
The 2nd table was constructed with the same material but then I added a clear roofing panel roof to it so the toddlers would not get pounded in the rain. Of course, your budget plays a part in the whole gardening project so you could use pallet wood or other materials but effects how long they will last.


